

A Comprehensive Cleaning Guide to Keeping Your Mechanical Keyboard in Prime Condition
by zxz on Mar 18, 2024
Essential Cleaning Supplies:
Before you begin your keyboard cleaning journey, gather the following tools and supplies:
Screwdriver
Isopropyl alcohol
Small bowl
Vacuum cleaner
Brushes (toothbrush and long keyboard brush)
Ultra-fine microfiber cloth
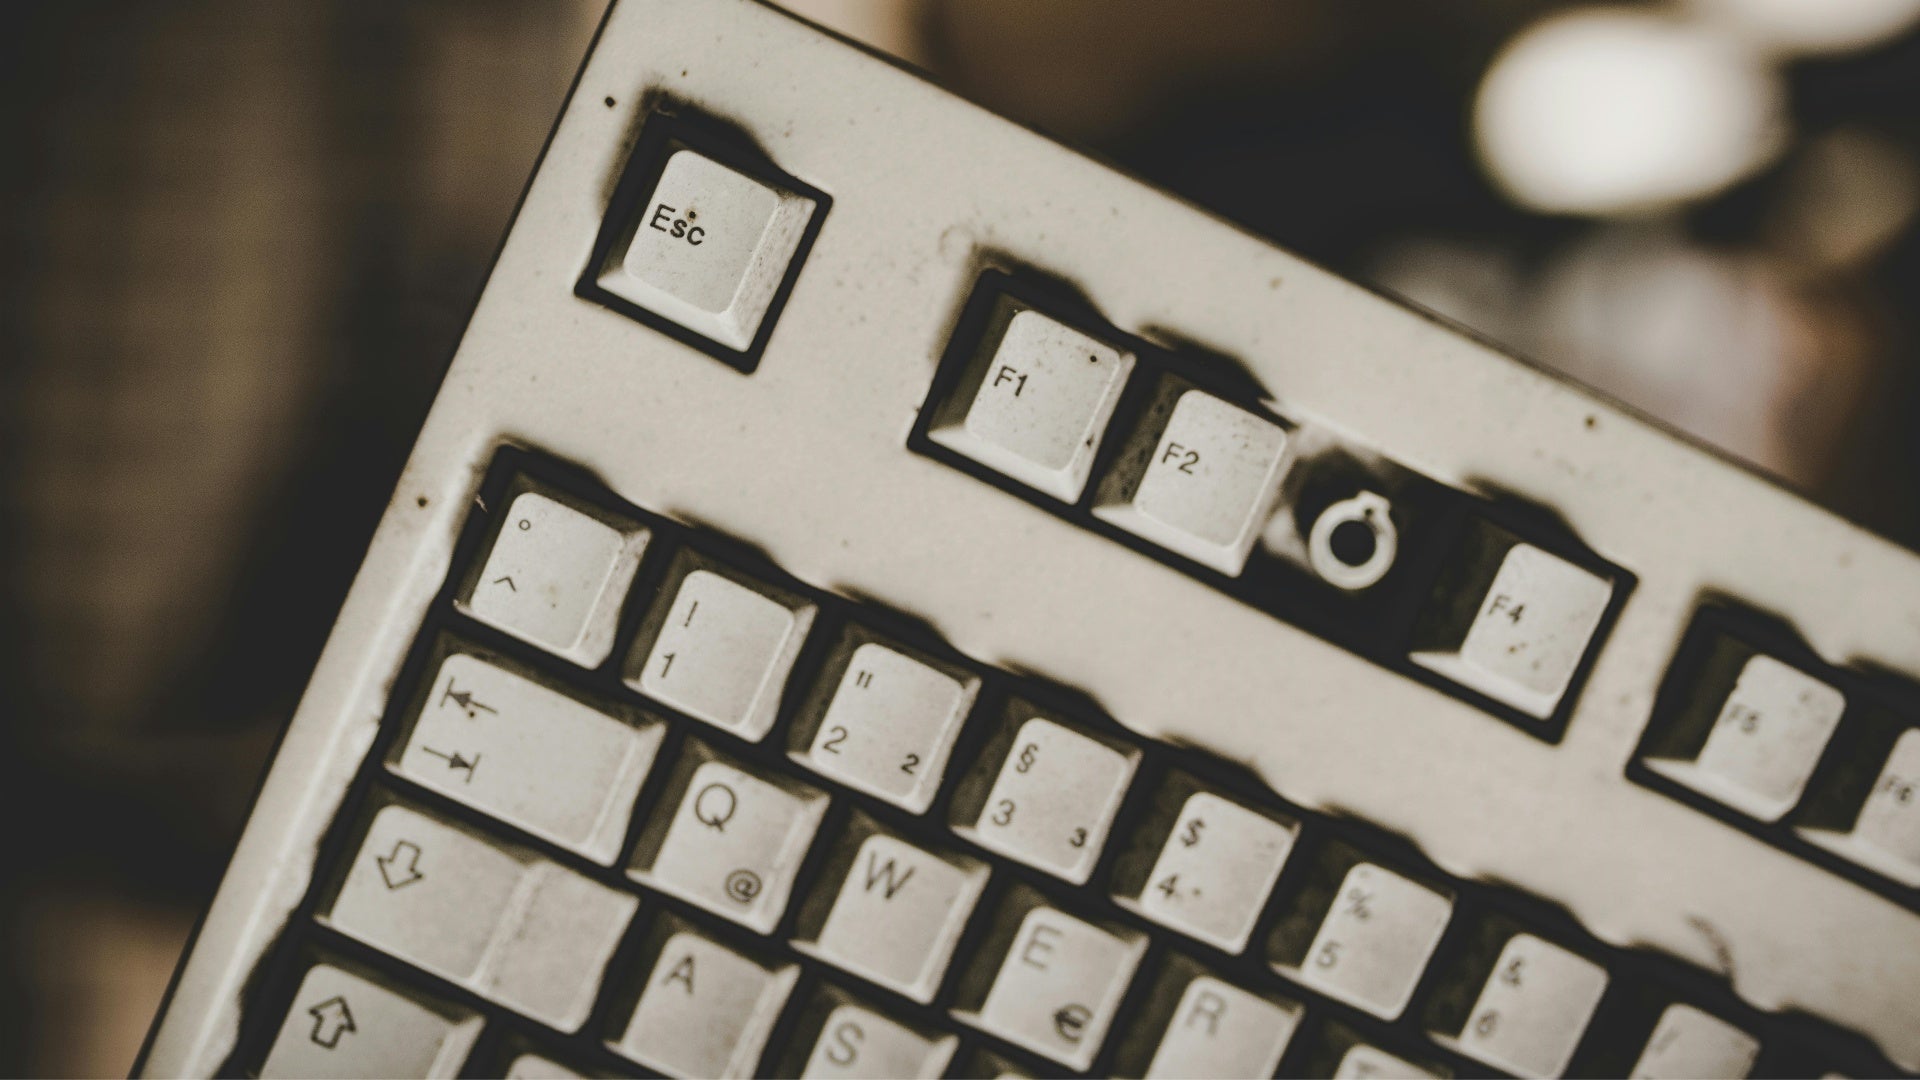
Routine cleaning is quick and easy and helps prevent dust and debris from building up. Follow these simple steps:
Wipe the surface:
Begin by wiping the keyboard surface with a damp ultra-fine microfiber cloth. This removes surface dust and keeps the workspace clean.Air Dry:
Allow the keyboard to air dry or use a dry cloth before using it again.Deep Clean:
For a more thorough cleaning suitable for discolored or sluggish keyboards, follow these detailed steps:Step 1: Unplug the keyboard
Disconnect the keyboard from your PC for flexibility during the cleaning process and to reduce the risk of electric shock. For a thorough cleaning, remove the keycaps using a keycap puller. Gently lift each keycap to expose the switches beneath.
Step 2: Vacuum
Use a vacuum cleaner or blow dryer on a low setting to remove loose dust and debris to maintain optimal keyboard performance.Incorporating vacuum-cleaning into your mechanical keyboard maintenance routine is a simple yet effective way to ensure optimal performance, longevity, and an overall enhanced typing experience.
Step 3: Disassemble the entire keyboard
For a thorough cleaning, disassemble the keyboard, including removing and cleaning the keycaps and keyboard base.
Soak keycaps:
Soak keycaps in a bowl of warm water and isopropyl alcohol to effectively remove dirt. Regular soaking helps prevent long-term staining of keycaps, preserving their color and appearance over time.Clean keycaps:
Clean keycaps with a brush or toothbrush to ensure thorough removal of dirt. Air dry the keycaps. Brushes offer versatility in tackling different types of contaminants. Whether it's removing surface dust, crumbs, or more stubborn residues, the varied bristle lengths and densities provide flexibility to adapt to various cleaning challenges. Brushes and toothbrushes are cost-effective alternatives for keyboard cleaning. They are readily available, budget-friendly, and provide a long-lasting cleaning solution without the need for frequent replacements.Reassemble the Keyboard:
Once satisfied with the cleanliness, reattach the keycaps to their respective switches. Ensure each keycap is securely pressed down.Removing Spills from a Mechanical Keyboard
If a spill occurs, follow these steps:
Prevent liquid from entering:
Please flipping the keyboard upside down to preventing liquid from infiltrating the keyboard, as liquid exposure can potentially damage the keyboard's circuit board and functionality. By turning the keyboard upside down, any spilled liquid will flow away from the internal components, reducing the risk of damage. Doing so helps prevent spilled liquid from directly contacting the keyboard's circuit board.Unplug and remove keycaps:
Before performing any maintenance or cleaning tasks, it's essential to unplug the keyboard from the power source to prevent electrical hazards. Additionally, removing the keycaps allows for thorough cleaning and access to the underlying switches and keyboard structure.
To remove keycaps, firmly grasp the sides of each keycap and gently pull upwards with even pressure until it pops off. Repeat this process for each keycap as needed.
Wipe and Dry Stains:
Wipe stains from the circuit board and switches with a dry microfiber cloth. Clean dust and debris from the keycaps, board, and switches.Air Drying:
Air dry the keyboard in an open area and reassemble when all components are dry. Low humidity levels play a pivotal role in preventing rust and corrosion on the internal components of mechanical keyboards. The absence of moisture reduces the likelihood of switches, connectors, and other metallic parts succumbing to the corrosive effects that damp environments can induce.Periodic Cleaning:
Regularly cleaning peripherals such as your keyboard, mouse, and mousepad is critical to maintaining a comfortable online experience and reducing the spread of germs.
Tip! A deep cleaning should be performed every 1-2 months.
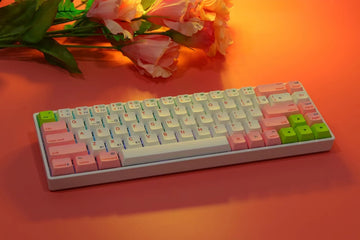
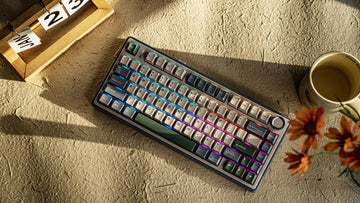
Discover the Epomaker Leobog HI75, a premium mechanical keyboard designed for an unparalleled typing and gaming experience. Engineered with precision and innovation, this keyboard boasts a compact 75% layout, combining efficiency and functionality.
One standout feature of the Epomaker Leobog HI75 is its user-friendly design, making maintenance a breeze. The keyboard is equipped with an easy-to-clean surface, ensuring a quick and efficient cleaning process. The keycaps are crafted for easy removal, allowing you to access those hard-to-reach areas effortlessly.
Say goodbye to the hassle of keeping your keyboard in top-notch condition. With the Epomaker Leobog HI75, maintaining a pristine setup is as simple as a few wipes and keycap removals. Elevate your typing experience while enjoying the convenience of hassle-free cleaning with the Epomaker Leobog HI75 mechanical keyboard.
Experience the perfect blend of performance, style, and ease of use – explore the Epomaker Leobog HI75 today!

Ensuring the cleanliness and optimal functionality of your mechanical keyboard is paramount for both the tactile pleasure of typing and the aesthetic appeal of your setup. By following the comprehensive tips and step-by-step instructions provided in this guide, you'll not only maintain the performance of your keyboard but also enhance its visual allure. Regular cleaning routines, including dust removal and keycap cleaning, are essential to prevent debris buildup and maintain a smooth typing experience. Additionally, addressing sticky keys promptly and thoroughly can prevent potential damage to the switches and circuitry.
Moreover, incorporating deep cleaning methods, such as disassembly and thorough component cleaning, into your maintenance routine can effectively address more stubborn dirt and grime, ensuring your keyboard remains pristine and fully functional.
By committing to these practices and investing time in proper maintenance, you'll not only prolong the lifespan of your mechanical keyboard but also enjoy a consistent and visually appealing typing experience for years to come. So, embrace these tips, establish a regular cleaning schedule, and revel in the satisfaction of typing on a well-maintained keyboard. Happy typing!

Dear Valued Customer,
I hope this message finds you well.
On behalf of the entire Epomaker team, I would like to thank you for choosing Epomaker. We appreciate your confidence in our products and are pleased to welcome you to our community.
Your satisfaction is our top priority and we are committed to providing you with exceptional products and service. If you have any questions, concerns, or if there’s anything specific you need assistance with, please feel free to contact our customer support team.
Thank you again for choosing Epomaker. We look forward to delivering a product that exceeds your expectations and improves your overall experience.
Best regards,
That’s so helpful! just need a guide for this situation